Saturday 15 June 2013

Mobile Phone Pouch Tutorial

Almost everyone has a mobile phone nowadays. It has become a must have item in our handbags. With this tutorial you are going to learn how to make a pouch that will protect your mobile phone and that will give it a unique look.

To make this pouch you will need the following materials:

1 Flat piece 3 ½” x 4 ¼” + 1 piece of fleece same size
1 Lining Flap Piece 3 ½ x 4 ¼”
1 Front Piece 6 1/2”x4 ½” + 1 piece of fleece same size
2 Inside Lining 6” x 4 ½”
1 Upper Back Piece – 3” x 4 ½” + 1 piece of fleece/quilt batting of same size
1 Lower Back Piece – 4” x 4 ½ ” + 1 piece of fleece same size
1 Inside Pocket Piece – 3 ½ “ x 4 ½”
1 Inside Pocket Piece – 3”x 4 ½”
1 Zipper foot 6”
1 Hair elastic
1 button

Click here underneath to watch the video


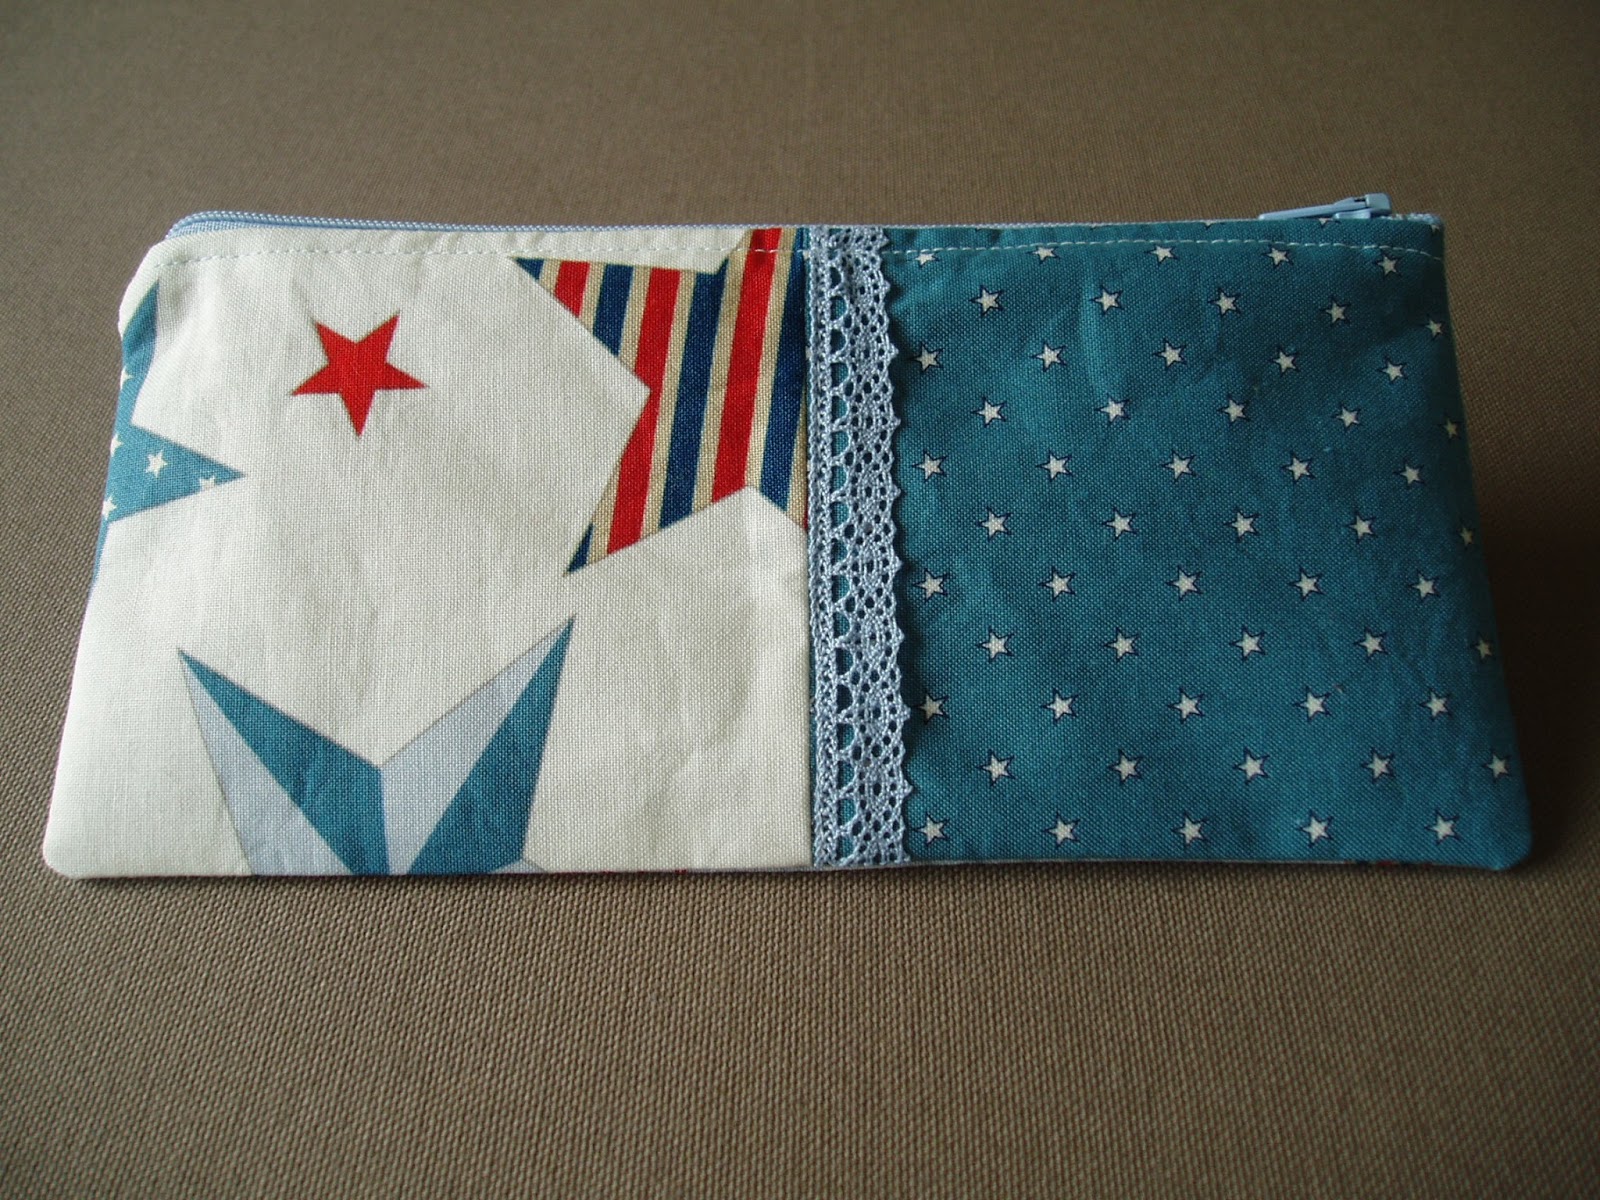
And if you are interested to win one of the pouches that I have made for this tutorial (see photos here underneath) I organize a giveaway. 


To participate just leave me a comment about the tutorial on the comments section here below. Only one answer by contact name, please. You have till the 30th of June to write your comment.

And thanks to everyone that has been leaving me comments here and on Youtube. I really appreciate them. Till soon!

Thursday 21 March 2013

The dress for “Paquita “ the Easter rabbit girl


You will find here the tutorial for the dress of  “Paquita “. And with this we have finished the Easter rabbit girl.

I hope you will find the tutorial easy to follow.

The materials needed to make the dress are the following:

10”x10” fabric for the dress
7”x7” fabric for the pocket
21” of ribbon

CLICK HERE to watch the video.

And do not forget if you want to participate on the giveaway, please leave me a comment for the video.

Send me your answer on the comments below. Only one answer per contact name. You will have until Sunday 24th March at midnight to answer.

Sunday 10 March 2013

« Paquita » the Easter rabbit girl


And finally you will find here the tutorial of the rabbit girl.

On this first video you will learn how to do the rabbit girl and on the next video that is coming soon I will show you how to do its dress, a pillowcase dress, out of the pattern that I have made.

This time I have decided to put on sale the pattern of the rabbit girl and its dress, you will find it on the page Patterns.

You will also need the following materials:

½ yard fabric for the body
1 piece of 14”x 9” for the ears
Embroidery thread
Polyester filling
Marker pen with disappearing ink

Click here to watch the video

There will be also a giveaway of one of the rabbit girls. For that, please let me know what do you think of the tutorial.

Send me your answer on the comments below. Only one answer by contact name. And in order to being able to send the rabbit girl to the lucky winner before Easter you have until Sunday 24th March at midnight to answer.

And don’t forget to register so that you won’t be missing out on my next tutorials!

I hope you enjoy it !!!


Friday 1 March 2013


The giveaway is now closed. There is no winner in this section as I have no received any comments. But if you were thinking on participating but you missed the opportunity, no worries as I will be doing more giveaways with my next tutorials.

I am already preparing the next which is in relation with Easters that is coming soon. I am going to teach how to make a rabbit girl, a nice present to give together with some chocolates. For the moment you can see the pictures of the rabbit girl that I have just finished, the video will be coming soon.


Monday 18 February 2013

Aiguille en fête exhibition in Paris

This last weekend I went to visit the Aiguille en fête exhibition in Paris, porte de Versailles, it’s once a year on the month of February, here underneath you can see some pictures.


Thursday 14 February 2013


Zipper Pouch Tutorial


And finally here it is the zipper pouch tutorial. I hope you enjoy it.

To make this pouch you will need the following materials:

 (4 different fabrics)
2 pieces (fabrics 1 and 2) of 4 1/2” x 4 1/2” (outer fabrics for the front)
1 piece (fabric 3) of 9” x 4 1/2” (outer fabric for the back)
2 pieces (fabric 4) of 9” x 4 ¼“ (for the lining)
2 pieces of iron-on interfacing of 9” x 4 ½”
Lace– 6”
8” Zip
Zipper foot

CLICK HERE to watch the video

This time I thought to giveaway of one of the zipper pouches that I have done with this tutorial.
Underneath you can see the photos.


To participate you need to answer on the comments below the following question: What would you put into one of these zipper pouches? Only one answer by contact name, otherwise you can also participate in the other sections but write your answer in the language of the question (I can accept a very tiny answer). You have till the end of February to give me an answer.

And don’t forget to register so that you won’t be missing out on my next tutorials!

Friday 1 February 2013


Tutorial N° 2


And for the next tutorial, I am preparing  a video to teach  you how to do a zipper pouch like this one


You can subscribe to the blog if you want and in this way you will not be missing out on my next tutorials.It's free!